Light From Above, 18" x 12"
(With thanks to The Pastel Journal where this was originally published as "It's Not Easy Being Green" )
Red is intense, yellow is cheerful, blue is peaceful, pink is romantic and green is -- a problem. Artists often express consternation over using the color green. It’s as though this one color, so predominant in the landscape, holds some mystery that artists must master. Despite its connotation as a restful, natural color, it can be tricky to use.
Green is found at the very center of the visible spectrum and is the hue to which our eyes are most responsive. We’re able to distinguish more shades of green than any other color, therefore, people have an intuitive, experiential understanding of green, whether consciously or not. This innate awareness can make using accurate and interesting greens a challenge. The most naïve observer can easily spot the wrong green used in a painting. Often the artist knows something is off, but has trouble finding the correction.

Santa Fe, 9" x 18"
WARM OR COOLResiding between the primary colors yellow and blue, directly astride the cusp of warm and cool temperatures on the color wheel, green cannot easily be classified as simply warm or cool. Ask anyone to divide the color wheel in half, with warm on one side and cool on the other, and almost invariably they will draw a line placing yellow on the warm side and yellow-green on the cool. But isolate this same yellow-green and they’ll identify it as a warm color. In the surrounding colors of a painting green may function as either a warm or cool color. This variety of temperature may be part of what makes green challenging to use.
If temperature is the primary issue, why is purple -- made from warm red and cool blue -- not subject to the same complaints among artists? Perhaps part of the reason is that purple resides squarely in the cool half of the color wheel. Add to that the fact that the yellow component of green adds intensity to the mix, while the red factor in purple is related more to temperature. Intensity and temperature are separate issues. The red in purple makes a concentrated color, but not one that’s necessarily intense, while an emphasis on yellow can make green extremely intense. The intensity of yellows used to make green may sometimes make for garish, surrealistic greens. As a result, some artists charge pastel manufacturers with making unnatural or brassy greens.
“So what?” responds Bob Strohsahl, maker of Great American Artworks pastels. “As long as manufacturers are making a full line of reliably standard greens in addition to the ‘garish’ ones, ‘unnatural’ greens might be useful to some artists.” However, he notes that when making pastels, green pigments tend to drift toward blue as they lighten. “The trick is to keep greens green as we make lighter values.” An overabundance of cool, light greens can limit the pastelist’s choices.
Some artists feel overwhelmed at trying to find the correct shade of green. My experience with this problem might be instructive. Years ago I found that I had quite a collection of green pastels, perhaps three times as many sticks as any other color. But when I organized my palette I discovered that instead of having more greens I had multiples of every green made. My dissatisfaction had led me to purchase more and more, trying to find the “right” green.
Wet Sneaker Morning, 12" x 18"

LOCAL COLOR
Like so many, I was convinced that because the local color was green I had to begin with and continue using green there. Instead, a great variety of colors under, over and next to green make it far more interesting and believable. Think, “warm in the sunlight, cool in the shade.” Sunlit greens contain somewhat more warmth, hence yellow, so begin the warm areas of green using yellow, orange, red or pink. Greens in shade are cooler, so use blue, purple or magenta.
Evening Complements (detail)
 Experiment with this idea to find the combinations that please you most. To paint foliage try putting down a light, bright orange next to a dark, cool purple. Then cover both with soft strokes of medium green. Or, first put down a very light stroke of green and then go into it with touches of orange and purple to make sunlight and shadows. Try yellow and blue or red and blue-violet beneath or on top of green. You might also experiment with making your own greens by blending blue and yellow on the paper or use bold broken strokes of blue and yellow.
Be careful not to over-green areas. If you need to strengthen the colors in and around green, you might begin with a grisaille underpainting or an underdrawing done in charcoal and choose colors based on the light to dark values needed. Based on value alone you can use a great number of different colors together. Color is then predicated on the tone first, which can make for exciting color choices. This can strengthen green by adding a host of colors of the same or similar value alongside or mixed into the green.
Instead of trying to find the green that most accurately matches what you see, use another color to mimic, replace or strengthen it. In an area of shadow use the darkest blue or a very dark burgundy or purple -- and no green. In the sunlight, choose bright orange or magenta, rather than green. Force yourself to think about value before color, as well as the temperature of the color.
MAKING MUD
Won’t all those different colors make mud? Many artists theorize that the recipe for a muddy, grimy color is one part warm mixed with one part cool. However, mud is a function of temperature and value. If you mix warms and cools the result will often look muddy, but mud is most affected by the use of differing values. When you’re careful to retain analogous values in an area you can avoid dirty color. For example, look at the greens in Evening Complements. The lighter areas of foliage are made using orange, copper, gold, lavender, yellow-green and green. These warm and cool colors are of the same value, resulting in an exciting, clear warm green that isn’t muddy or gloomy. Likewise, the shadowed side of the foliage is made up of red-violet, cool purple, blue, turquoise and green. Again, the similarity of values allows clear color even though the temperatures are both warm and cool.
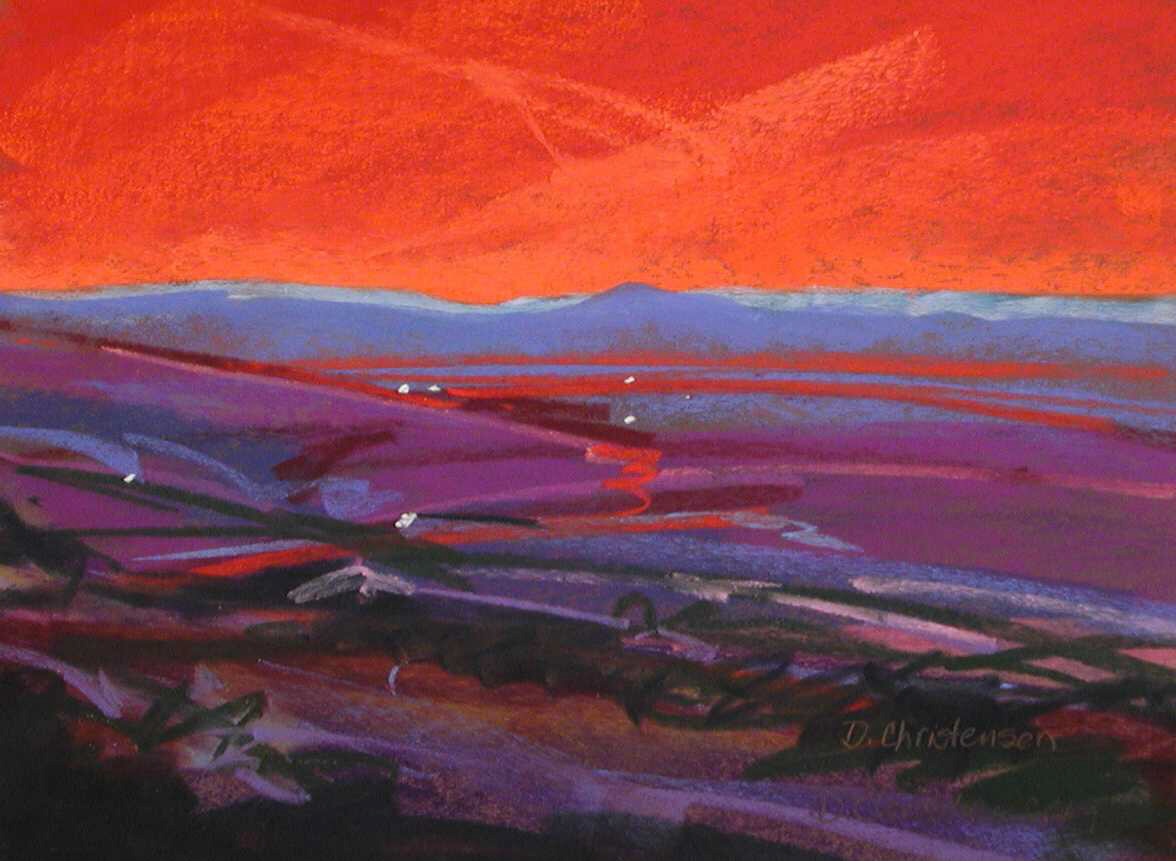
Lavender Sky (detail)

MAKING SPACE
In a landscape the goal is to create an impression of space and distance. As green fades into the distance the yellow component is filtered out by the atmosphere. To give your painting a sense of air, remember that the farther away they are, the cooler, bluer and paler the greens. This is true of all colors, of course, but this makes green particularly challenging because it’s made primarily of warm yellow, which appears close, and cool blue, which creates distance. Use warm yellow-greens in the foreground, and cool, blued greens for the background. Don’t allow olive green to become too blue in the distance, or blue-green to become too yellow in the foreground.
Significant humidity can increase the number of values perceived and necessitate a greater palette of greens since a wet climate is usually a green place. Sometimes this can baffle even a green connoisseur.
Ludwig, whose set of 85 greens have become foundational for many pastelists, was heard to remark while painting on location in sultry Atlanta, Ga., that he didn’t have the right green. His greens, which run the gamut from intense warm yellow-greens to the darkest cool blue-greens, enhanced with additions of cool reds, pale blues and warm yellows, were made to fill colors he felt were missing from his palette. “But there are a lot of nuances in Georgia in August,” he chuckles, noting he’s from Colorado, “and I still didn’t have enough with me.”
Certain greens characterize different areas of the country, but does that mean more artists in Vermont use Vermont Green, one of the Great American colors? “There’s some regional preference,” Strohsahl says. “Blue-greens for the northeast, yellow-greens in the southwest, although this is a generalization. There are lots of exceptions.” Vermont green is called that simply because, “I like Vermont,” explains Strohsahl. “Green sales are fairly consistent across the board. I think this is so because green occurs everywhere and not just in vegetation.”
COLOR WHEEL
No photograph can possibly represent the variety of greens you see in the world with your eye. The experience of painting on location will teach you more about green than any photograph. The human eye can see some 7,000,000 colors, a variety no film can begin to approach, so to appreciate the diversity of color it’s best to spend time observing and recording what you see in nature.
Final Touches, 12" x 9"

Our eyes have millions of light-sensitive photoreceptor cells called cones. When saturated with one color, the eye automatically supplies the complementary color as an after-image. You may have experienced the effect of staring at a green square and, upon looking away, seeing a mysterious red square floating in its place. The after-image provides the complement of the color. While you’re on location, search out the red after-image of green and record it in your painting. This is guaranteed to enliven your colors, since complements invariably heighten visual contrasts.
As you practice seeing in a very green environment you will begin to perceive all the colors of the color wheel. Look for the yellows and oranges of green in sunlight, the blues and purples of the shadowed greens, and the afterimage of red amid all of the numerous greens there.
Use warm and cool greens to add depth. Enhance green with all the colors in your palette, paying attention to how much you blend or leave the strokes visible. Layer colors together to boost the power of the greens you have on hand. Seek the ways that you can record all the beauty of green, the restful and useful color of nature.